Q Applet Development
Howdy developers. You’ll find here the information needed to develop Q applets for Das Keyboard Q devices.
Q applet development is easy. There are many examples available, all open source.
A Q applet is a program written in javascript that can be installed in the Q
software. Applets live in the Q marketplace.
Applets control a user-defined set of RGB LEDs. For example, a CPU meter
would control the top horizontal LEDs from ESC to F7 (US layout).
Quick links
Here is the source code of full-featured applets. Clone as needed.
- Cpu monitor applet:
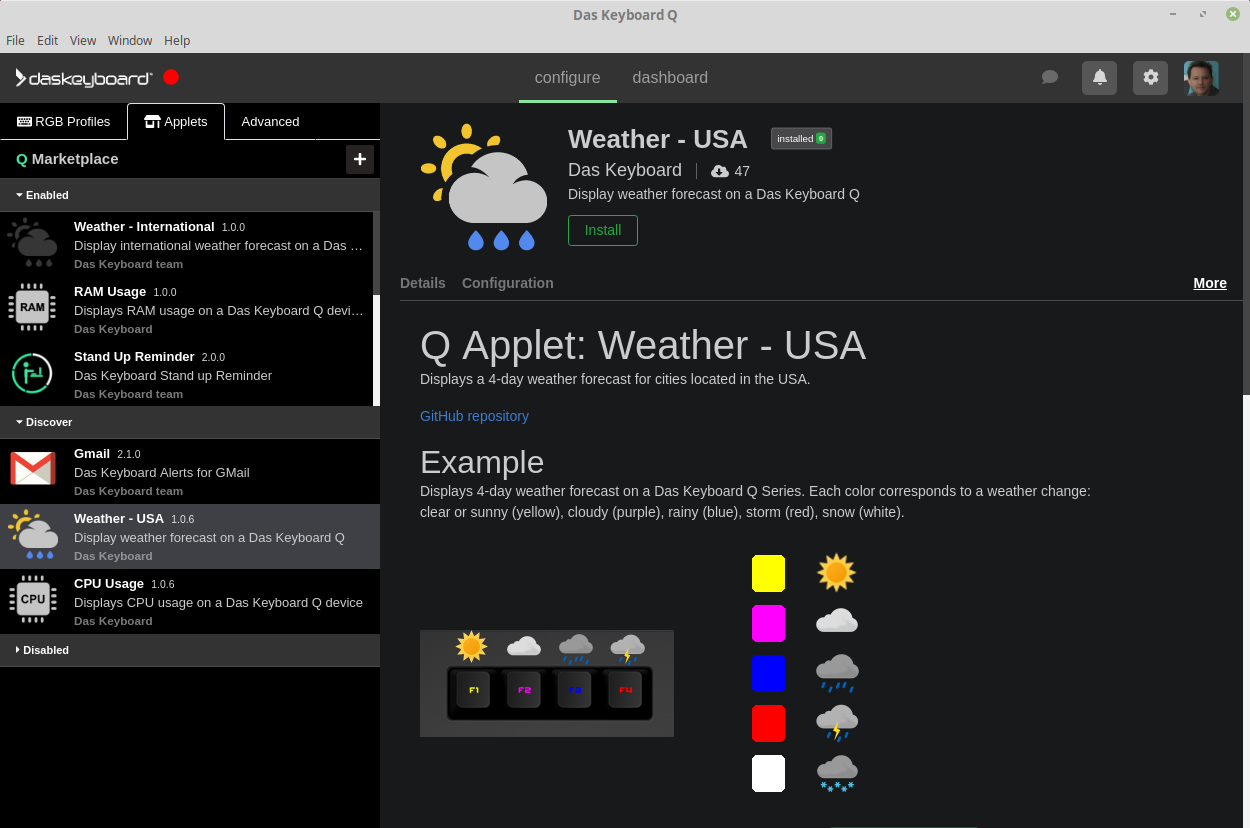
- Weather forecast applet
- Stock quote applet:
- Many more Q applets:
Key concepts
A Q applet controls LEDs inside a rectangular area which is a 2D array of points.
Example 1: a CPU activity meter could use 10 LEDs on one row.
return new q.Signal({
    points: [[
      new q.Point('#FF0000),
      new q.Point('#00FF00),
      //.... 10 points total
      new q.Point('#0000FF),
      ]],
    name: 'CPU 28%',
    description: 'Average load of 28%.'
    });
Example 2: a stock applet of one stock ticker would display itsself on one LED only.
A user can add many stock applet instances.
return new q.Signal({
    points: [[
      new q.Point('#0000FF)
      ]],
    name: 'TSLA up 25%',
    description: 'Tesla: $1780'
    });
Applet development overview: making a CPU meter
Prerequisites
Make sure node and yarn are installed.
Let’s walk through a concrete example and write a CPU meter applet that displays a bargraph on a Q keyboard. The final example is available on Github: https://github.com/daskeyboard/daskeyboard-applet--cpu-monitor. Clone it to follow along.
git clone https://github.com/daskeyboard/daskeyboard-applet--cpu-usage.git
then install node modules:
yarn
File structure
A typical Q applet file structure will look like this:
> tree
.
├── assets
│   ├── icon.png
│   └── image.png
├── CHANGELOG.md
├── package.json
├── index.js
├── README.md
├── README_ENDUSER.md
└── yarn.lock
The app packages dependencies are listed in package.json file.
The assets directory contains the images for the marketplace.
The README_ENDUSER.md is the content that will be shown in the marketplace.
Defining which LEDs to use: this.geometry
The Q applet will define its rectangle area needs in the package.json file as follows.
In the example below, the applet uses 10 LEDs (width) over 1 keyboard row (height).
During the installation by the end user, the applet will be first
positioned at orign point (0,1) here which correspond to the ESCAPE key.
The end user will then drag and drop the applet to a location of his or her choice.
The height, width and origin are defined by the qConfig JSON structure in package.json with the format:
{
  "width": <number>
  "height": <number>
  "origin": {
    "x": <number>,
    "y": <number>
  }
}
You can also inspect the applet’s geometry with the functions:
this.getWidth()this.getHeight()this.getOriginX()this.getOriginY()
 "qConfig": {
    "geometry": {
      "width": 10,
      "height": 1,
      "defaults": {
        "origin": {
          "x": 0,
          "y": 1
        }
    }
The above qConfig settings will display the applet (orange rectangle) as follows:
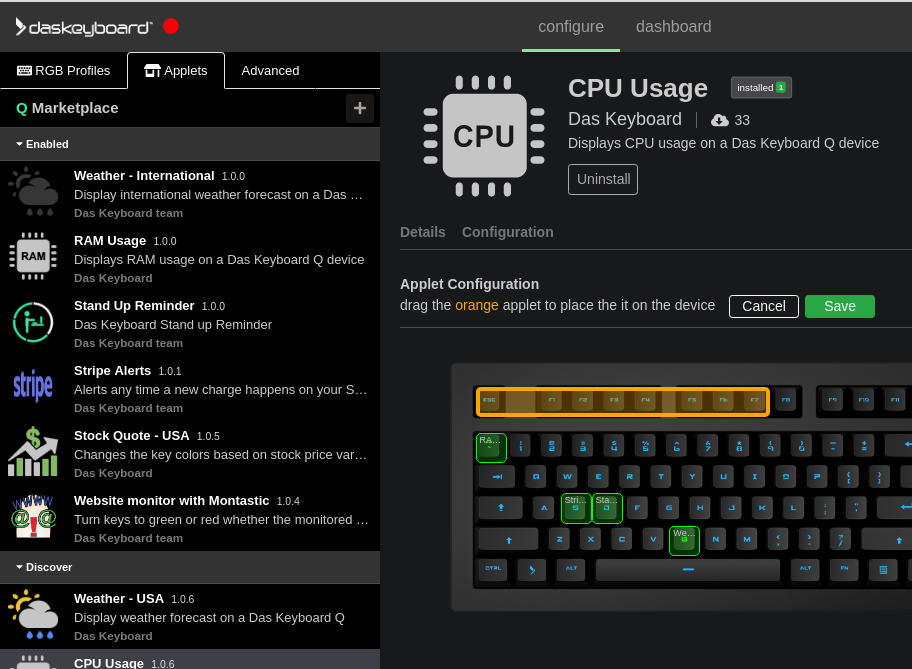
Applet’s geometry can be inspected with the functions:
this.getWidth();
this.getHeight();
this.getOriginX();
this.getOriginY();
Polling interval
The heart of the Q applet is the javascript file index.js. Let’s dive into it.
In the case of the CPU meter, we would like to update the RGB LEDs of the keyboard every 3 seconds.
To achieve this, we set the polling interval to 3000 milliseconds
this.pollingInterval = 3000; in the applet class contructor as follows:
class CpuUsage extends q.DesktopApp {
  constructor() {
    super();
    // run every 3000 ms
    this.pollingInterval = 3000;
    logger.info("CPU Usage Meter ready to go!");
  }
Then we write the run function that will be called each pollingInterval.
The CPU meter will send a signal to the keyboard each time the run function is called.
getCpuUsage returns the percentage of CPU usage then
the LED color and how many LEDs to use is calculated with generatePoints(percent):
 // call this function every pollingInterval
 // sends a signal to the Q keyboard to light up LEDs based on CPU usage.
  async run() {
    return this.getCpuUsage().then(percent => {
      return new q.Signal({
        points: [this.generatePoints(percent)],
        name: "CPU Usage",
        message: Math.round(percent * 100) + "%",
        isMuted: true, // don't flash the Q button on each signal
      });
    });
  }
Here this.getCpuUsage() calculates the CPU usage percentage:
  async getCpuUsage() {
    return new Promise((resolve) => {
      os.cpuUsage(v => { // ask value from OS.
        resolve(v);
      })
    })
  }
This is how generatePoints calculates how many LEDs should be used:
 generatePoints(percent) {
    const numberOfKeys = 10;
    // multiply the cpu percentage by the number total of keys
    const numberOfKeysToLight = Math.round(numberOfKeys * percent);
    let points = [];

    // create a list of points (zones) with a color). Each point
    // correspond to an LED
    for (let i = 0; i < numberOfKeys; i++) {
      points.push(new q.Point(this.getColor(i, numberOfKeysToLight)));
    }

    return points;
  }
Finally, here is the complete content of index.js file:
// Library to track cpuUsage
const os = require('os-utils');

// Library to send signal to Q keyboards
const q = require('daskeyboard-applet');

// Color associated to cpu activity from low (green) to high (red).
const colors = ['#00FF00', '#00FF00', '#00FF00', '#00FF00', '#FFFF00', '#FFFF00', '#FF0000',
  '#FF0000', '#FF0000', '#FF0000'
];

const logger = q.logger;


class CpuUsage extends q.DesktopApp {
  constructor() {
    super();
    // run every 3000 ms
    this.pollingInterval = 3000;
    logger.info("CPU Usage Meter ready to go!");
  }

  // call this function every pollingInterval
  async run() {
    return this.getCpuUsage().then(percent => {
      return new q.Signal({
        points: [this.generatePoints(percent)],
        name: "CPU Usage",
        message: Math.round(percent * 100) + "%",
        isMuted: true, // don't flash the Q button on each signal
      });
    });
  }

  async getCpuUsage() {
    return new Promise((resolve) => {
      os.cpuUsage(v => {
        resolve(v);
      })
    })
  }

  generatePoints(percent) {
    const numberOfKeys = 10;
    // multiply the cpu percentage by the number total of keys
    const numberOfKeysToLight = Math.round(numberOfKeys * percent);
    let points = [];

    // create a list of points (zones) with a color). Each point
    // correspond to an LED
    for (let i = 0; i < numberOfKeys; i++) {
      points.push(new q.Point(this.getColor(i, numberOfKeysToLight)));
    }

    return points;
  }

  /** get a color of a zone depending on it's index on the zone array */
  getColor(zoneIndex, numberOfKeysToLight) {
    if (zoneIndex >= numberOfKeysToLight) {
      // if the zone is after the number max of keys to light. Turn off the light
      // Black color = no light
      return '#000000';
    } else {
      // turn on the zone with the proper color
      return colors[zoneIndex];
    }
  }
}

module.exports = {
  CpuUsage: CpuUsage
};

const cpuUsage = new CpuUsage();
Loading Dev applet into Q Desktop
During development, an applet can be loaded into Das Keyboard Q desktop.
This allows to check the applet assets such as images, READMEs, config view and overall applet behavior and user experience.
Before loading the applet inside Q desktop, the node modules need
to be installed using the following command:
yarn
The applet can be loaded via the dev menu </>. A user can enable
from the user setting menu.
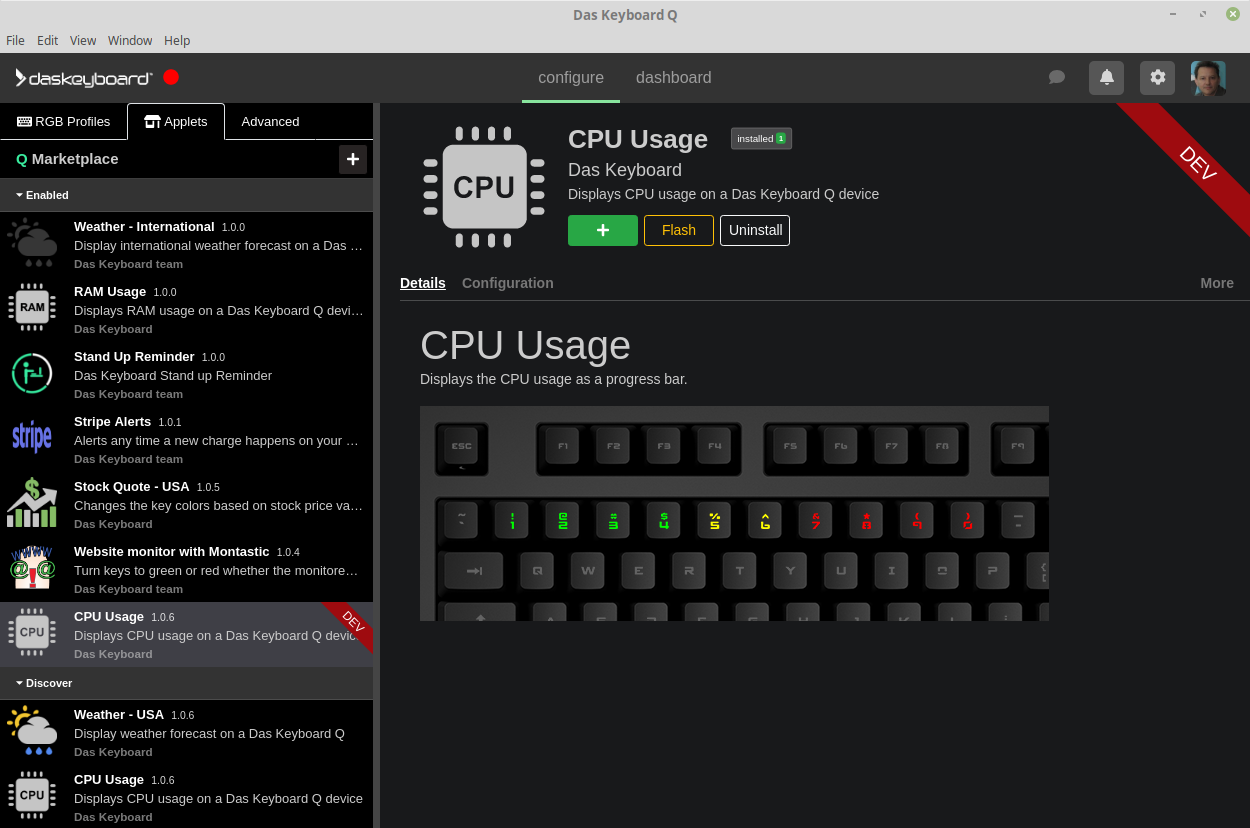
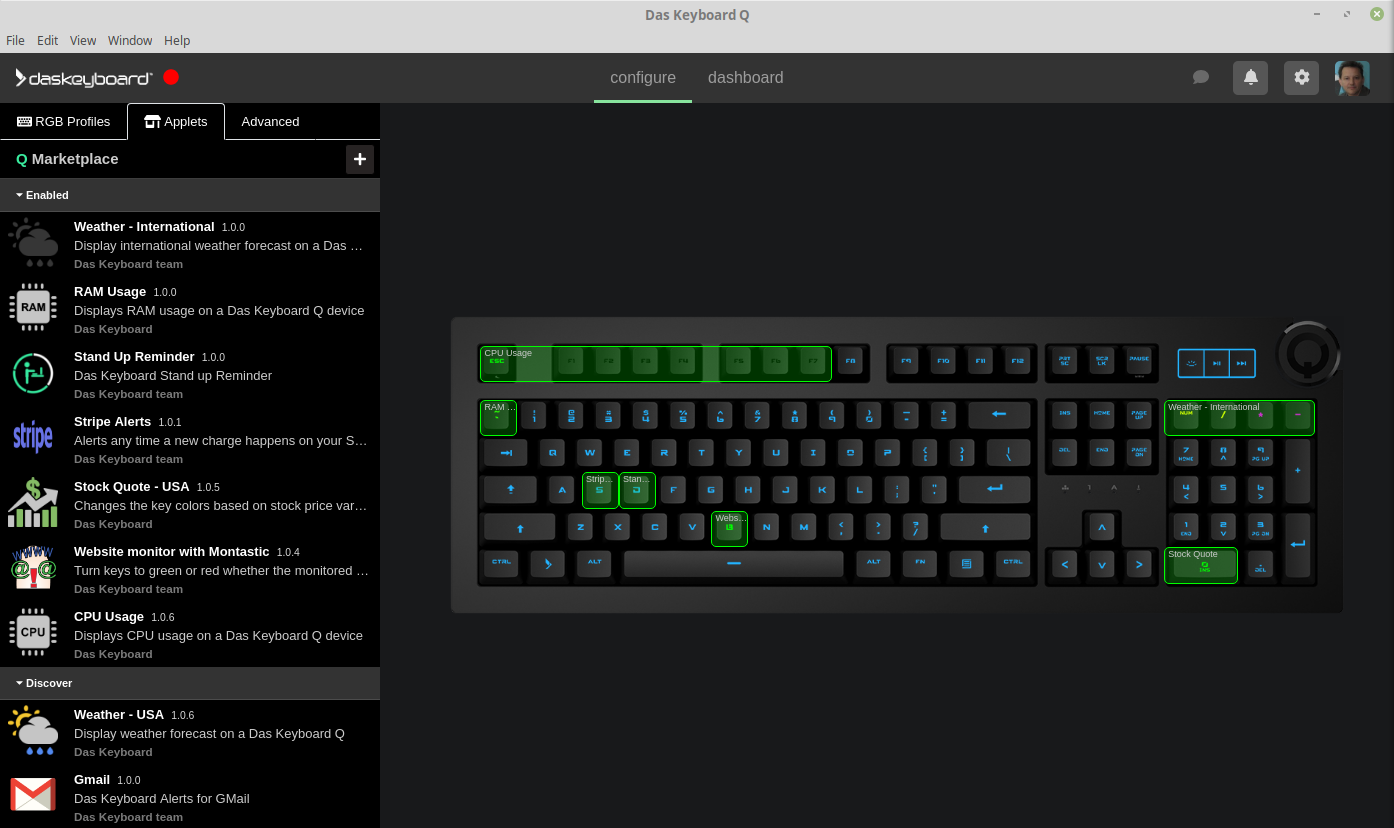
Here is a view of the CPU Usage applet loaded in dev mode inside Q desktop
application.